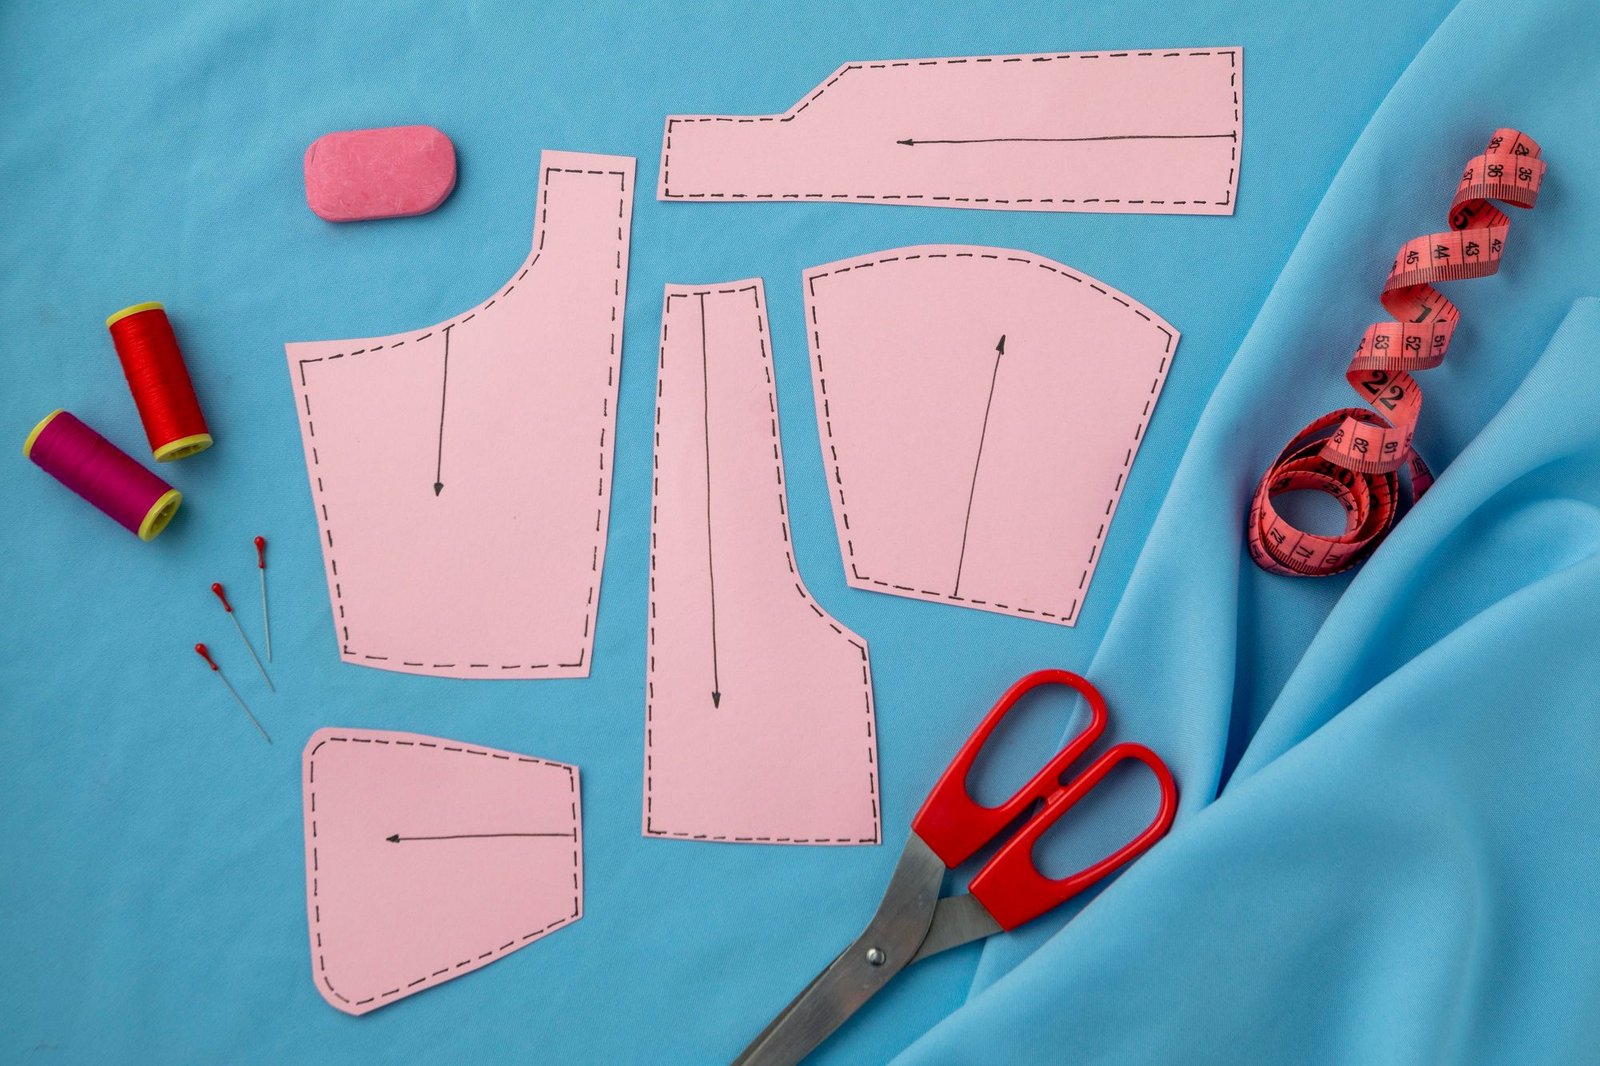
Learning to sew your own clothes can be both creative and practical, but the first sewing patterns can look confusing. Lines, symbols, numbers, notches, grainlines, seam allowances, and multiple size options can make even a simple garment seem complicated. The good news is that sewing patterns for beginners are designed to introduce these fundamentals gradually.
A sewing patterns is essentially a roadmap that guides you through choosing the right size, preparing fabric, cutting individual pieces, and assembling the finished garment.
Whether you want to make a simple skirt, top, dress, or other garment, learning how to read and use patterns is an important foundation for developing fashion design and garment construction skills.
What Is a Sewing Pattern?
A sewing pattern is a template used to cut fabric pieces that will eventually be assembled into a garment or other sewn product.
A typical clothing pattern may contain pieces for:
- Front and back bodices
- Sleeves
- Collars
- Waistbands
- Skirts
- Pockets
- Facings
- Cuffs
- Other garment details
Pattern instructions explain how these pieces should be cut, marked, joined, and finished. They may also provide information about recommended fabrics, measurements, finished garment dimensions, fabric requirements, and construction order.
Why Are Sewing Patterns Important for Beginners?
A sewing pattern helps beginners move from an idea to an actual garment without having to draft every shape from scratch.
It can help you understand:
- Garment proportions
- Individual pattern pieces
- Seam placement
- Grain direction
- Cutting requirements
- Construction sequence
- Fitting considerations
- Finishing techniques
For beginners, patterns also provide a structured way to practise sewing skills. Rather than trying to learn everything at once, you can choose a project that introduces a manageable number of new techniques.
Step-by-Step Guide to Using Sewing Patterns for Beginners
Step 1: Choose a Beginner-Friendly Sewing Patterns
The first and most important decision is selecting a pattern that matches your current skill level.
Don’t choose a complicated tailored jacket or fitted evening gown simply because you like the design. Your first project should help you build confidence.
Look for patterns with:
- Simple silhouettes
- Fewer pattern pieces
- Straight or gently curved seams
- Simple hems
- Elastic waistbands
- Minimal closures
- Clear instructions
- Beginner or easy skill ratings
A simple top, elastic-waist skirt, loose dress, or basic tote bag can be a better starting point than a garment involving zippers, complicated collars, lining, or tailored construction.
Step 2: Read the Entire Pattern Before Sewing
One of the most common beginner mistakes is starting to cut or sew immediately.
Instead, read the instructions from beginning to end.
Pay attention to:
- Required fabric
- Suggested fabrics
- Size chart
- Finished measurements
- Pattern pieces
- Cutting instructions
- Seam allowance
- Markings
- Construction order
- Special techniques
- Notions such as zippers, buttons, elastic, or interfacing
Think of the pattern instructions as a project plan.
Reading everything first allows you to identify difficult steps before reaching them.
Step 3: Take Accurate Body Measurements
Don’t automatically select the size you normally purchase from a clothing store.
Ready-to-wear clothing sizes and sewing patterns sizes can differ significantly.
Use a flexible measuring tape and record the measurements required by the specific pattern.
Common measurements include:
- Bust
- Waist
- Hip
- Shoulder
- Back length
- Garment length
- Sleeve length
For garments that require close fitting, additional measurements may be necessary.
Accurate measurements are fundamental to fitting because the pattern needs to correspond to the body while also allowing the intended amount of ease for movement and style.
Create a Personal Measurement Chart
Keep a record of your measurements with the date.
This makes future sewing projects easier and allows you to monitor changes rather than repeatedly measuring without documentation.
Step 4: Understand Pattern Markings
Sewing patterns contain symbols that communicate how pieces should be positioned and joined.
Some common pattern markings include:
1. Grainline
The grainline indicates how the pattern piece should be positioned relative to the fabric grain. It is usually represented by a long line with arrows.
2. Notches
Notches are small marks along pattern edges that help you match corresponding pieces. They can be particularly useful when joining curved or complicated seams.
3. Darts
Dart markings indicate where fabric needs to be folded and stitched to create shaping.
4. Fold Line
A pattern may indicate that a particular edge should be placed against the fabric fold.
5. Cutting Line
The outer line generally indicates where the fabric should be cut, although exact presentation varies between patterns.
6. Seamline
The seamline represents where two fabric pieces are joined by stitching. Understanding these symbols before cutting can make construction significantly easier.
Step 5: Select the Right Fabric
Fabric selection can make or break a beginner sewing project.
A pattern may recommend specific fabric types because different fabrics behave differently.
For example:
- Cotton is generally easier to control than slippery fabrics.
- Lightweight fabrics may require more careful handling.
- Stretch fabrics require different construction considerations.
- Heavy fabrics can affect garment drape and seam bulk.
- Structured fabrics can create a different silhouette from soft, fluid materials.
For a first project, consider using a stable, easy-to-handle fabric.
Avoid expensive or difficult fabric until you understand how your pattern works.
Step 6: Prepare Your Pattern Pieces
Once you’ve selected your size, identify the required pattern pieces.
If multiple sizes are printed on the same sheet, carefully trace or cut the correct size.
Before cutting:
- Identify every required piece.
- Check the size line.
- Read the cutting instructions.
- Identify pieces cut on the fold.
- Check grainlines.
- Mark important notches and construction points.
- Confirm whether seam allowances are included.
Label your pieces if necessary.
This simple preparation can prevent confusion later.
Step 7: Lay Out the Pattern on the Fabric
Pattern placement matters.
Place the fabric according to the instructions and ensure the grainline is correctly aligned.
Some fabrics also require special consideration for:
- Nap
- One-way prints
- Plaids
- Stripes
- Directional motifs
- Pattern matching
A with-nap layout keeps pattern pieces facing the same direction, which is important when fabric has a directional surface or design.
Don’t rush this stage.
A few extra minutes spent checking the layout can prevent wasted fabric.
Step 8: Cut and Mark Carefully
Use sharp fabric scissors or an appropriate rotary cutter and cutting surface.
Cut smoothly around each pattern piece without accidentally changing its shape.
Transfer important markings to the fabric, including:
- Notches
- Dart points
- Dart legs
- Pocket placement
- Button positions
- Fold lines
- Other construction references
Accuracy at this stage affects everything that follows.
Step 9: Start Sewing the Main Seams
Once the fabric is cut and marked, begin construction according to the pattern instructions.
A basic seam involves joining corresponding fabric edges along the required seamline.
Before sewing, align:
- Fabric edges
- Notches
- Seamlines
- Important matching points
Then secure the layers using pins, clips, or another suitable method.
Seam allowances are the areas of fabric between the stitched seamline and the cut edge, and they play an important role in garment construction.
Step 10: Press as You Sew
Pressing is one of the most underestimated skills for beginners.
Don’t wait until the garment is finished.
Press seams at appropriate stages during construction.
Depending on the garment, this may involve:
- Pressing seams open
- Pressing seams toward one side
- Pressing hems
- Pressing darts
- Shaping curved sections
Good pressing can make a homemade garment look significantly more polished.
Step 11: Check the Fit Before Finishing
If you’re sewing a fitted garment, don’t wait until the final step to discover that it doesn’t fit.
Try the garment on at appropriate construction stages.
Check:
- Shoulder position
- Bust fit
- Waist position
- Hip ease
- Garment length
- Sleeve length
- Neckline
- Overall comfort
For more involved garments, making a test garment or muslin can help identify fitting problems before cutting expensive fabric. Pattern fitting involves comparing body measurements with the pattern and making adjustments where necessary.
Practical Tips for Sewing Patterns for Beginners
1. Start With Simple Projects
Choose projects that teach foundational skills rather than trying to master everything immediately.
2. Learn One New Technique at a Time
For example, learn an elastic waistband in one project and a simple zipper in the next.
This approach makes skill development more manageable.
3. Make a Test Version
For fitted garments, consider making a test version using inexpensive fabric before cutting your final material.
4. Keep Your Pattern Pieces Organised
Store pieces in labelled envelopes or folders after use.
5. Keep Notes
Record alterations, fabric choices, construction changes, and fitting adjustments.
Your notes can become extremely useful when making the same pattern again.
6. Don’t Skip Pressing
Pressing at each construction stage can improve accuracy and final appearance.
7. Practise on Scrap Fabric
Before attempting an unfamiliar technique on your actual garment, practise on leftover fabric.
FAQs About Sewing Patterns for Beginners
1. What are the easiest sewing patterns for beginners?
Simple skirts, elastic-waist garments, basic tops, loose dresses, tote bags, and other projects with relatively few pieces are good starting points. Beginner patterns typically focus on foundational seams, hems, darts, or gathers rather than complicated closures.
2. How do I know what size sewing pattern to use?
Take your body measurements and compare them with the specific pattern’s size chart. Do not assume that your normal ready-to-wear clothing size will correspond to the same sewing pattern size.
3. Should beginners use paper or PDF sewing patterns?
Either can work. Printed patterns are ready to use, while PDF patterns can be convenient because they are purchased digitally and can be printed when needed. Choose the format you find easiest to organise and understand.
4. What is the most important sewing pattern marking to understand?
There isn’t one single most important marking, but beginners should understand grainlines, notches, fold lines, darts, and cutting or seam information. These markings help you position, match, and construct pattern pieces correctly.
5. Can I modify a sewing pattern after learning the basics?
Yes. Once you understand pattern construction, you can begin making controlled changes such as adjusting length, changing necklines, moving darts, or adding design details. More advanced modifications require a stronger understanding of fit and patternmaking.
Final Thoughts
Learning sewing patterns for beginners is one of the most useful ways to build a foundation in garment construction. Instead of seeing a pattern as a confusing collection of lines and symbols, think of it as a technical roadmap that connects measurements, fabric, construction, and design.
As your confidence grows, you can move beyond following patterns and begin modifying designs, understanding fit, and eventually creating your own garments and patterns. For students interested in fashion design as a career, these practical skills can provide an important foundation for more advanced garment development.
Build Your Fashion Design Skills With IFJD
If you want to go beyond basic sewing and develop professional skills in fashion design, IFJD offers structured fashion design education covering areas such as pattern making and drafting, garment construction, fashion illustration, textiles, digital design, embroidery, collection development, and portfolio presentation.
Explore the fashion design course at IFJD to develop practical design and garment-making skills under structured guidance and take the next step toward a career in fashion design.